You want soothing care for cracked pads when hot sidewalks or freezing streets take a toll, and natural dog paw balm recipes offer a simple, safe fix you can make at home.
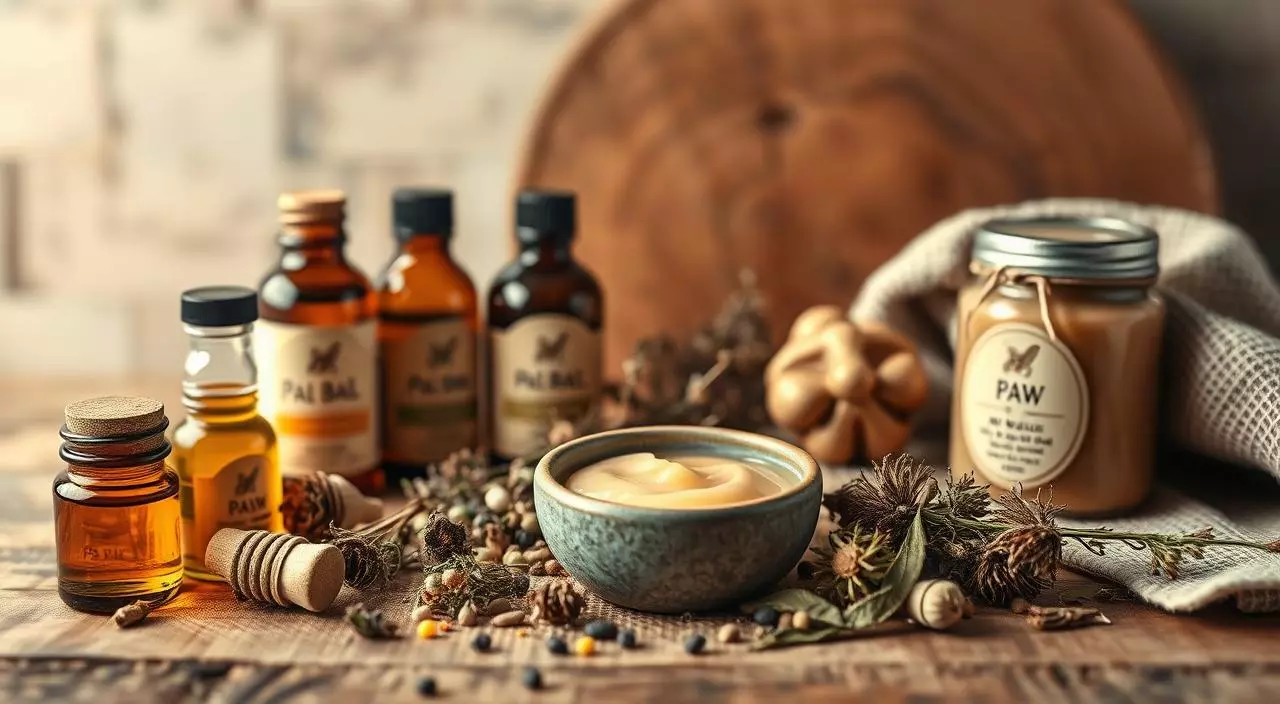
We explain a reliable base recipe—shea butter, olive oil, coconut oil, vitamin E, and beeswax—that melts gently in a double boiler and cools into jars for quick use.
This short guide shows why a balm matters in heat and cold, how each ingredient helps skin and pads, and how to keep formulas pet-safe since dogs often lick their paws.
Key Takeaways
- Simple, at-home recipe soothes and protects pads, noses, and elbows.
- Regular care prevents cracks from heat, cold, and changing weather.
- Each ingredient plays a clear role: moisture, barrier, and antioxidant support.
- Use pet-safe components—dogs lick their paws—so safety matters.
- We cover tools and steps: gentle melting, pouring, and storage tips.
- Guidance includes frequency of use and signs to replace the product.
Why caring for your dog’s paws matters year-round
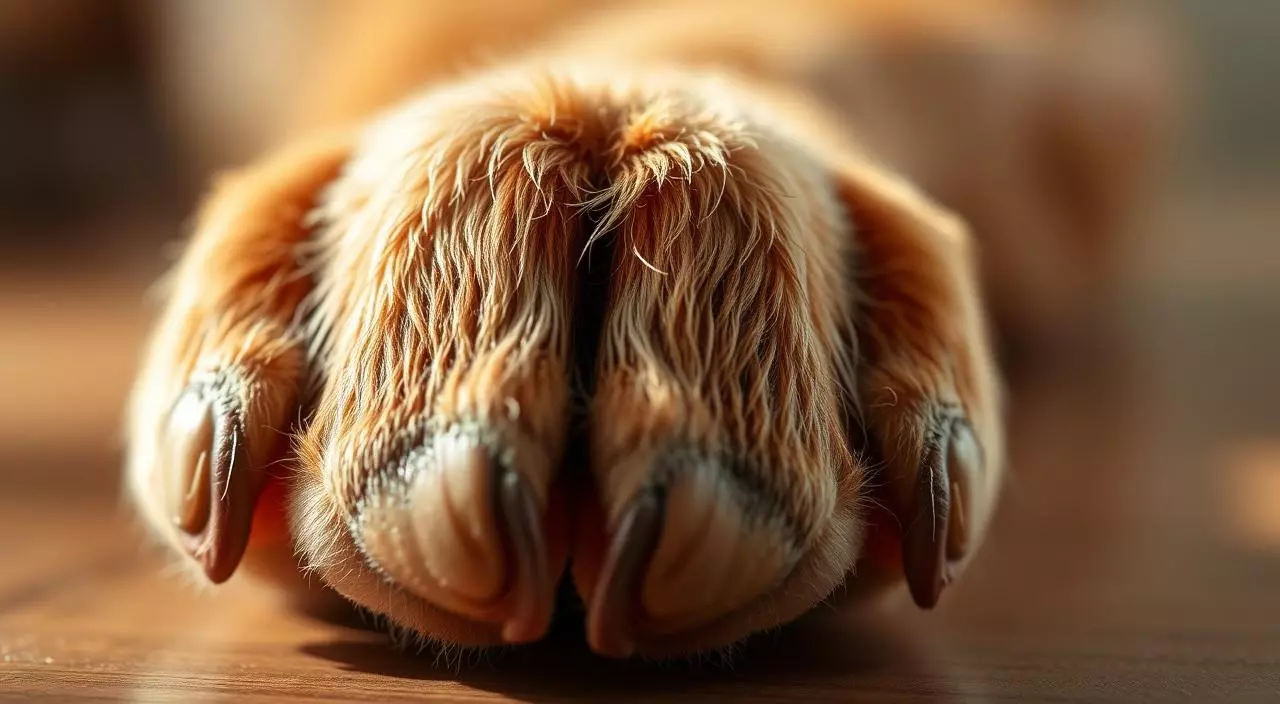
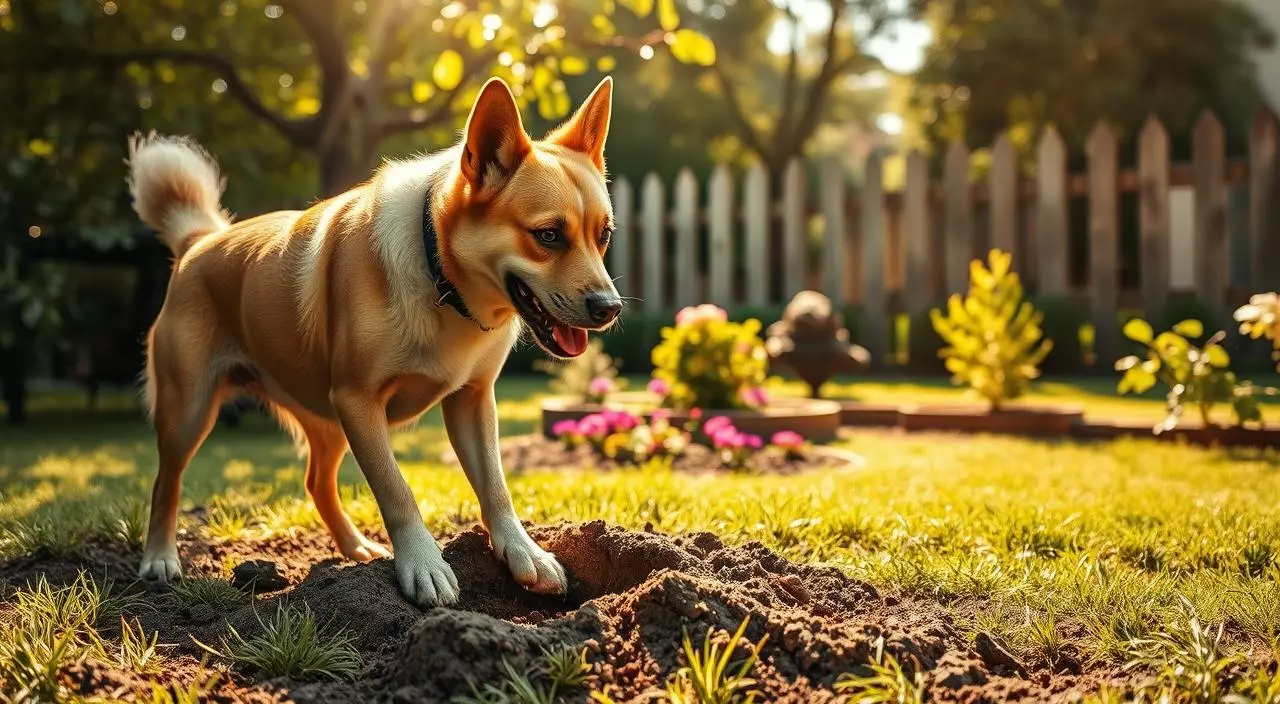
From summer sidewalks to winter salt, changing weather wears on pads and makes ongoing care essential. Hot pavement, ice, and rough trails strip moisture and create tiny cuts that can worsen quickly.
A good paw balm restores moisture and forms a light, breathable shield. That barrier helps prevent blisters, cuts, and stinging cracks that trap dirt and raise infection risk.
Vets recommend products made for dogs because they may lick their feet: an edible-safe oil and butter blend lowers risk if tasted. Short, regular applications after walks are more effective than heavy, sporadic use.
- Daily micro-damage dries the skin and leads to fissures that hurt.
- Routine checks catch pebbles, burrs, or early redness before it becomes a problem.
- Combined with smart walk timing and surface choices, preventive care keeps pads resilient.
| Season | Main Threat | Protective Action |
|---|---|---|
| Summer | Hot pavement | Apply a thin layer; avoid midday walks |
| Winter | Ice and salt | Wipe paws; use a barrier before outings |
| All year | Abrasive terrain | Check pads; use lightweight balm as needed |
Tools and safe, simple ingredients to get started
Good results begin with simple tools and a few food-grade ingredients that melt gently into a protective salve. Prepare a clean counter, sterilized containers, and a low, steady source of heat.
 image, showcasing the textures, reflections, and subtle details of this essential kitchen tool.")
Using a double boiler for gentle, even heat
Set a smaller pan over simmering water so direct flame never touches the mix. This double boiler method prevents scorching and keeps texture smooth.
Stir until beeswax fully melts—about 5–10 minutes. Slow melting preserves the benefit of each ingredient.
Core oils, butters, and beeswax that protect pads
Choose beeswax for a breathable barrier. Add shea butter and coconut oil for vitamins and deep hydration. Olive oil thins the blend so it spreads easily.
Lick-safe choices and what to avoid for dogs
Pick food-grade oils and butter and skip synthetic fragrances. If a dog has sensitivities, patch-test one pad and watch for 24 hours. Label jars with the made-on date and keep lids nearby when pouring.
| Ingredient | Primary Role | Why it’s safe |
|---|---|---|
| Beeswax | Protective barrier | Edible-grade wax forms a breathable shield |
| Shea butter | Vitamin support | Rich in A and E; cosmetic-grade is safe |
| Coconut oil | Hydration & antimicrobial | Food-grade supports skin microbiome |
| Olive oil | Softening glide | Common edible oil that spreads thinly |
Natural dog paw balm recipes: an easy base recipe you’ll actually use
Follow a clear, step-by-step method to blend safe ingredients into a handy tin you can carry daily. The base recipe is compact, practical, and made with edible-grade components so tasting is less risky.
What you’ll need on the counter
- 2 tbsp organic shea butter, 3 tbsp olive oil, 3 tbsp organic coconut oil
- 2 tbsp organic beeswax, 1/2 tsp vitamin E oil
- Clean tins or mason jars with lids and a silicone spatula
Step-by-step: melt in a double boiler without overheating
- Set a double boiler over simmering water; place the top pan clear of direct flame.
- Add butter, oil, coconut, and beeswax; keep gentle heat until uniform—about 5–10 minutes.
- Stir slowly as beeswax dissolves and avoid splashes of water that can cloud the balm.
Pouring into tins or jars, cooling, and sealing
Remove from the boiler and let bubbles settle briefly. Place tins or jars on a towel and pour carefully.
Thin metal tins cool faster; glass jars take longer. Let the mixture cool fully at room temperature before sealing. Label each dog paw balm with the date and use a small amount per application—thin layers absorb better than heavy coats.
| Ingredient | Amount | Role |
|---|---|---|
| Shea butter | 2 tbsp | Comforts skin |
| Coconut oil | 3 tbsp | Moisture |
| Olive oil | 3 tbsp | Improves spread |
| Beeswax | 2 tbsp | Seals hydration |
| Vitamin E | 1/2 tsp | Supports freshness |
Simple variations to customize your balm for your dog
Customize the base mix to add targeted support — for example, an infused olive oil brings extra soothing power.

Olive oil infusion with calendula for extra skin support
Infuse about 70 g of olive oil with dried calendula for 2–4 weeks, then strain. Melt that infused olive oil with coconut oil, shea butter, and beeswax over medium heat until uniform.
Remove from heat and let the mixture cool slightly while still liquid. Then add vitamin E and, if desired, a small drop of lavender.
Optional lavender and when to add vitamin E
Add vitamin E and lavender only after the mix cools a bit to preserve potency and aroma. Lavender can help deter licking, but skip it for scent-sensitive pets.
| Variation | Key change | Suggested amount |
|---|---|---|
| Calendula infusion | Use infused olive | 70 g infusion in place of plain olive oil |
| Softer glide | Increase olive oil | +5–10% olive, -5% beeswax |
| Firmer stick | More beeswax | +1 tsp beeswax |
- Patch-test any change on one paw before wider use.
- Record the amount and outcome so the exact balm recipe can be repeated.
How to use, store, and care for your DIY paw balm
A clear care plan—when to apply, how much to use, and where to store jars—protects your pet and your batch.
Applying a small amount to clean paws and how often
Start with clean, dry paws: wipe away dirt and road salt with a damp cloth, then let the pads dry so water won’t block absorption into the skin.
Use a small amount: a thin film over each pad is enough. Thin layers absorb faster and cut down on floor smudges.
Frequency depends on activity—after salty walks, beach days, or trail runs. Before bedtime is ideal so the balm works while a dog rests.
Storage tips, containers, and how long it lasts
Keep products in clean containers. Disinfect tins and jars before pouring, let the mix cool fully, and wipe rims before closing.
- Store in a cool, dark place away from direct heat.
- Label the made-on date; many makers plan for about three months of freshness.
- If a container warms in a hot car, move it to a cool spot and re-melt gently if texture changes.
Color, texture, and scent changes that mean it’s time to toss
Check the balm before each use. Signs to discard include a rancid odor, darkening, grainy or separated texture, or any mold.
Use a dedicated spatula or a clean fingertip to avoid contamination that could irritate skin or pads. If cracking or bleeding appears, consult a vet—balm soothes but does not treat infections.
| Action | Why | Quick Tip |
|---|---|---|
| Wipe paws | Removes salt and grit | Dry before applying |
| Thin layer | Better absorption | Less mess on floors |
| Label jars | Track freshness | Discard after ~3 months |
Conclusion
A simple, edible-grade blend of beeswax, shea butter, coconut oil, and a mild carrier oil offers everyday comfort and weather protection.
Apply a thin layer after walks and at night so pads absorb the treatment. Small, steady use keeps pads conditioned and helps dogs accept quick care with less fuss.
DIY control over each ingredient means fewer additives and easy tweaks—calendula-infused oil or timed vitamin E boost resilience without extra work.
Store jars in a cool place, label the made-on date, and replace the batch if color, texture, or smell changes. This post aims to empower owners with a safe, practical balm recipe for happier steps and calmer adventures with friends.